To be able to create a new User in your enableHR account, you need to have the AccountAdmin role assigned to you.
Please note, a username is unique and can only ever be used once within enableHR. Do not delete a user or modify a username without reading about the implications first.
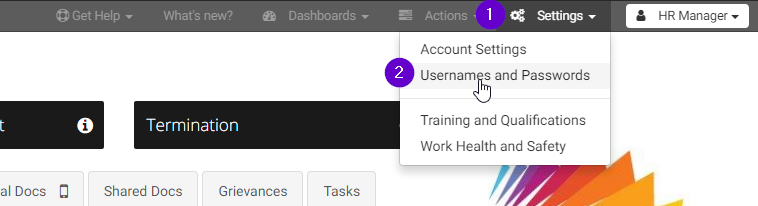
- Click on 'Settings'.
- Click on 'Usernames and Passwords'.
- Click on 'Users'.
- Click on the 'New User' button to start this process.
Enter Core Details:
- Enter a unique Username for the new User (usually an email address or "firstname.lastname").
- Enter an initial password for them to use (or use the password generator to provide random options).
- Enter the user’s personal details (important as is required in some documents / templates).
- Enter the user’s contact email address (important for password resets & email functionality).
- Enter an alert email if they would like alerts to be delivered elsewhere (i.e. You could have alert [not personal account] emails going to a shared mailbox).
- Enter the users Position Title.
- Select the time zone for the user if different to the account time zone.
- Tick the Password Expired checkbox to request a password change on first login.
- Accepted Terms will be ticked by default. This indicates that the user has accepted the terms and conditions of use as outlined in the service agreement between enableHR Pty Limited and the User’s company.
Confirm Communication Elements:
- Check Opt-In to mailing list if you would like the User to receive regular communication about the system, changes and issues (recommended for key people).
Confirm Creation Workflow Elements:
- Check Grant Access to All only if you wish to grant the User access to all branches in the company.
- Check Subscribe to all alerts only if you wish the User to receive alerts triggered within the system.
- Click Create to lock in the details and create the User.
Now that you have created your User, to complete the process you will need to set their Access Control. There are 3 types of Access Control that you should set immediately:
- Allocate Roles
- Allocate Branches
- Link the User to their Employee Record (if applicable)
More Access Control Resources:
- How do I restrict a user from seeing particular employee files (Blacklist)
- How do I restrict user's access using Organisational Chart?